In this article, we are not going to share methods to password-protect the drives to prevent unauthorized access to the drives, but we are going to temporarily block the unauthorized access to the hard drives. So, without wasting any further time, let’s know how to restrict access to drives from My Computer in Windows 10.
How To Prevent Access To Drives In My Computer In Windows
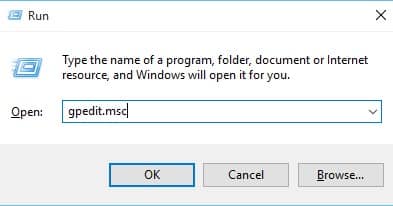
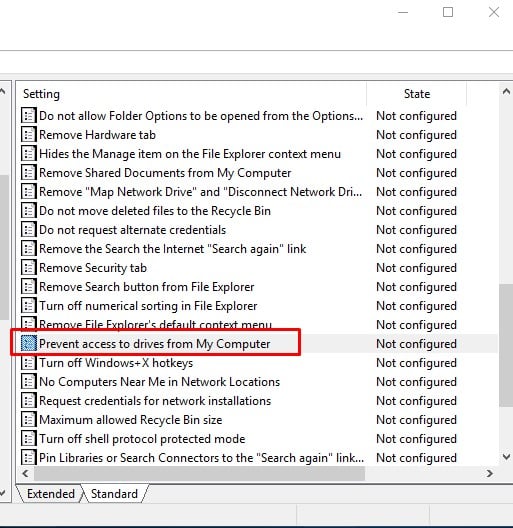
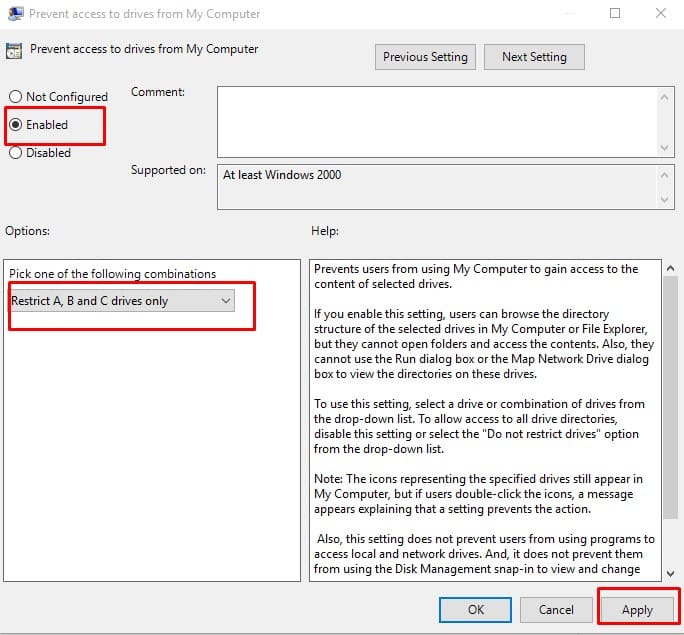
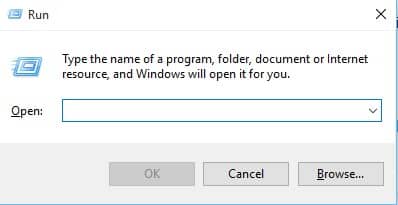
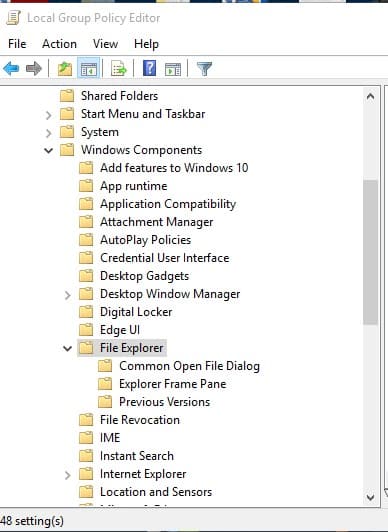
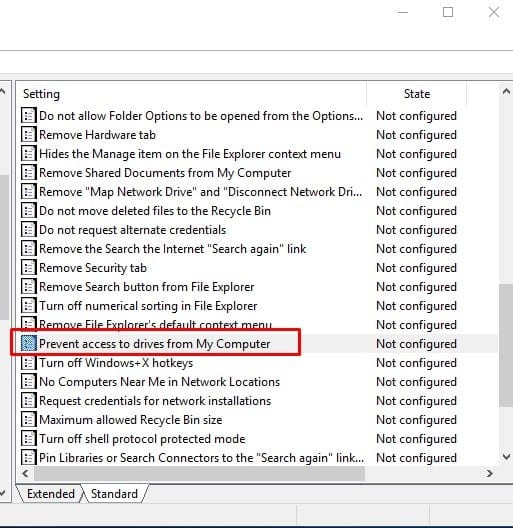
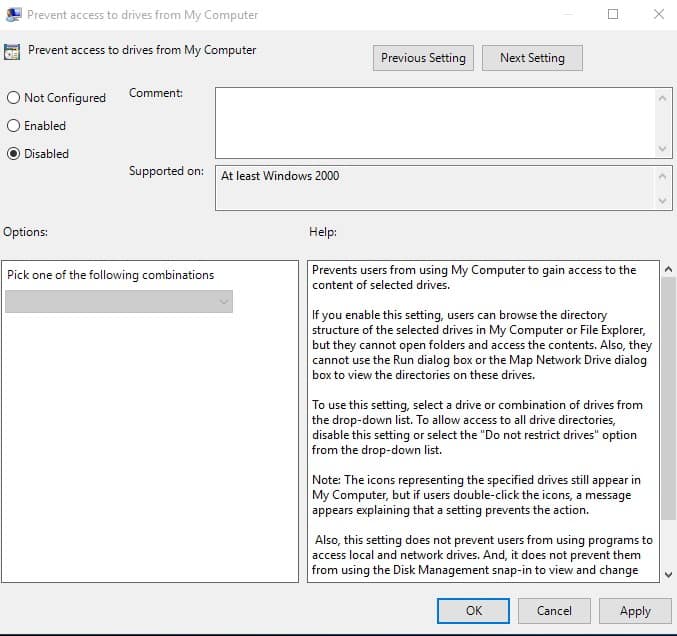
Well, to prevent access to the drives in My Computer in Windows 10, users need to make a few changes in the Local Group Policy Editor. Below, we have shared a step-by-step tutorial on how to restrict access to drives in My Computer in Windows 10. Step 1. First of all press Windows Key + R to open the Run Dialog box. Step 2. On the RUN Dialog box, enter ‘gpedit.msc’ and hit enter. Step 3. This Run command will take you to the Local Group Policy Editor. Step 4. There you need to navigate to the – User Configuration/Administrative Templates/Windows Components/File Explorer Step 5. From the right-hand side panel, double click on the ‘Prevent Access to drives from My Computer’ Step 6. You need to enable the option and then from the ‘Options’ select which drive you to want to restrict and click on ‘Ok’. That’s it, you are done! Now if anyone tries to access the restricted drive, they will get an error message like this.
How To Allow Access To The Drives?
Well, if you have restricted access to certain drives and want to revert the changes, then you need to follow the steps given below. Step 1. First of all press Windows Key + R to open the Run Dialog box. Step 2. On the RUN Dialog box, enter ‘gpedit.msc’ and hit enter. Step 3. This Run command will take you to the Local Group Policy Editor. Step 4. There you need to navigate to the – User Configuration/Administrative Templates/Windows Components/File Explorer. Step 5. From the right-hand side panel, double click on the ‘Prevent Access to drives from My Computer’ Step 6. Now from the ‘Options’ you need to select the option ‘Do not restrict drives’ and then click on ‘Ok’ Step 7. Now from the same window, you need to select ‘Disabled’ under the ‘Prevent access to drives from My computer’ That’s it; you are done! This is how you can allow access to drives on Windows 10. So, this is all about how to restrict access to drives in My Computer in Windows 10. I hope this article helped you share it with others as well.