You might need your PC’s serial number when contacting the manufacturer’s support helpdesk, or while claiming the warranty. Usually, the serial number is available on the warranty card or at the backside of the laptop. Depending on the location of the computer, it might be hard to find the sticker containing the serial number.
Find PC’s Serial Number via Command Prompt
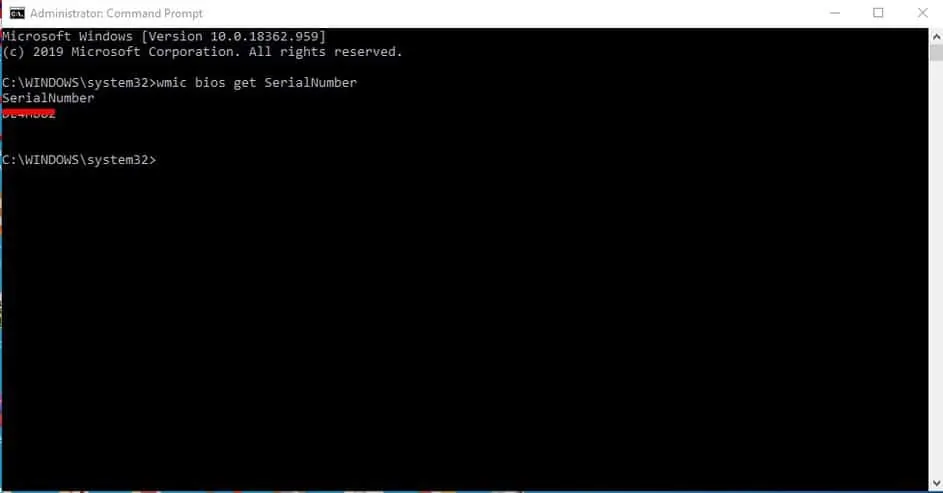
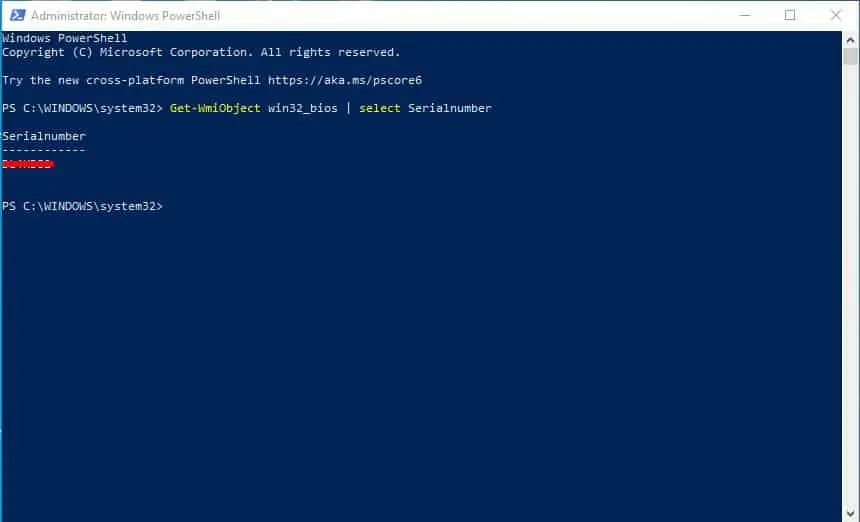
You can also access the machine’s BIOS to get the serial number, but that’s a lengthy process. So, in this article, we have decided to share an easy method to find PC’s serial number via Command Prompt. We will also share a Powershell Command to get Windows 10 Pc’s serial number in 2020. So, let’s check out how to find your Windows 10 PC’s serial number in 2020. Step 1. First of all, search for Command Prompt on the Windows 10 search box. Step 2. Right-click on the CMD and select ‘Run as administrator’ Step 3. On the Command Prompt Window, you need to enter the following command – wmic bios get SerialNumber Step 4. The command line will return with the serial number. Step 5. To find PC’s serial number via Powershell, run it as an administrator and enter the command – Get-WmiObject win32_bios | select Serialnumber That’s it! You are done. This is how you can find your Windows PC’s serial number. So, this article is all about how to find your PC’s serial number in 2020. I hope this article helped you! Share it with your friends also.