If you have been using Windows 11 for a while, you might know that the OS greets you with the ‘Let’s finish setting up your device’ screen after installing a feature update. This screen is a part of the Windows Welcome Experience, and it helps you set up your PC without going through the steps manually. While the ‘Let’s finish setting up your device’ screen is helpful, it’s not for everyone. Many users find the ‘Let’s finish setting up your device’ screen irritating. The worst thing about the feature is that Windows 11 will show you the same screen when you restart your PC if you don’t complete the setup process.
Steps to Disable ‘Let’s Finish Setting Up Your Device’ Screen in Windows 11
So, if you find this notification annoying, you need to turn it off. Hence, this article will share a few best ways to disable the ‘Let’s finish Setting up Your Device’ screen on Windows 11. We have shared two methods; you need to follow the one you feel comfortable with.
1) Disable Windows 11 Welcome Experience via Settings
In this method, we will use the Windows 11 Settings app to disable the Welcome Experience in Windows 11. Here are some of the simple steps you need to follow.
First of all, click on the Windows Start button and select Settings.
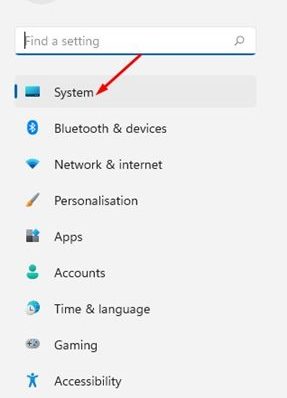
On the Settings app, click on the System option on the left pane.
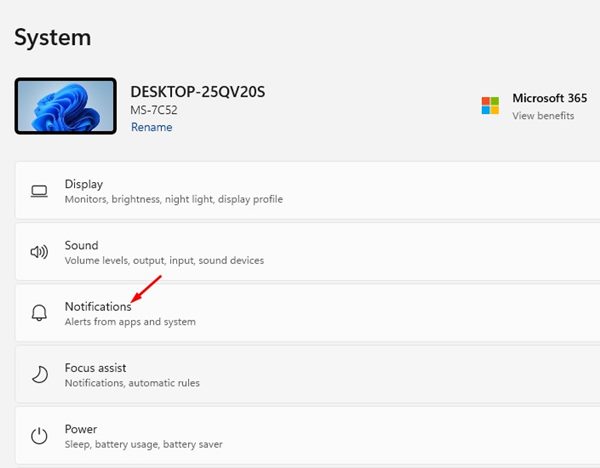
On the right pane, scroll down and click on the Notifications.
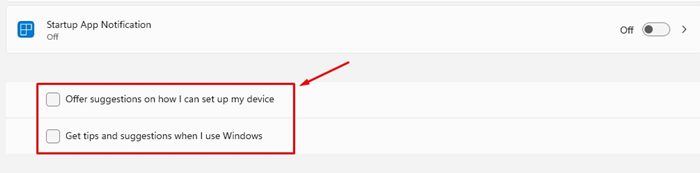
On the Notifications, scroll down and click on the Additional settings option.
Next, uncheck the two options as shown in the screenshot below and close the Settings app.
That’s it! You are done. You can turn off the ‘Let’s finish setting up your device’ screen on Windows 11 via Settings.
2) Turn off ‘Let’s finish setting up your device’ via Registry Editor
In this method, we will use the Registry Editor of Windows 11 to turn off the ‘Let’s finish setting up your device’ screen. Here are some of the simple steps you need to follow.
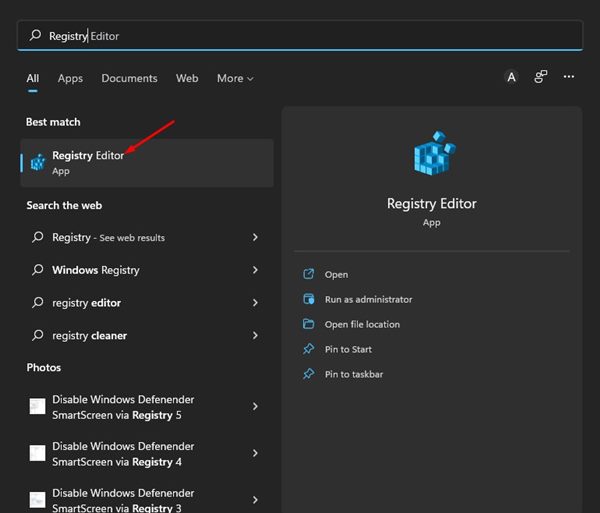
First, click on the Windows 11 search and type in Registry. Next, open the Registry Editor from the list of options.
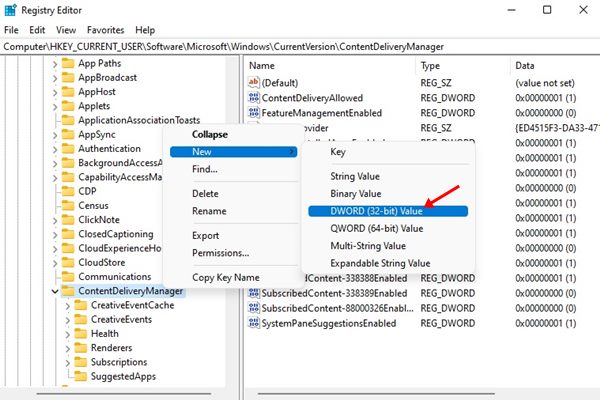
On the Registry Editor, navigate to the following path: HKEY_CURRENT_USER\SOFTWARE\Microsoft\Windows\CurrentVersion\ContentDeliveryManager
Now, right-click on the ContentDeliveryManager folder and select New > DWORD (32-bit) value.
Name the newly created key as SubscribedContent-310093Enable
Next, double click on the SubscribedContent-310093Enable. Enter 0 to disable the Welcome Experience on the value data field and 1 to Enable the Welcome Experience. Once done, click on the Ok button and close the Registry editor.
That’s it! You are done. This is how you can enable or disable the ‘Let’s finish setting up your device’ screen on Windows 11. So, that’s all about how to turn off the ‘Let’s Finish Setting up your device’ screen on Windows 11. This will disable the Welcome Experience screen while setting up a new account on your Windows 11 computer. If you wish to enable the Welcome Experience screen, you need to revert the changes you have made.