When Windows 11 enters the sleep mode, all open documents and applications are moved to the system memory (RAM). To exit the sleep mode, you need to make a mouse movement or press any key on the keyboard. When Windows 11 exits the sleep mode, it automatically resumes all your opened tasks. So, in short and simple words, Sleep mode is a power-saving mode that leads to better battery life. Also read: How to Run Android Apps on Windows 11
Steps to Choose When Your Windows 11 PC Goes to Sleep
Although Windows 11 has a sleep mode feature, many users don’t know how to enable or adjust the PC’s sleep delay. Hence, in this article, we will share a step-by-step guide on how to choose when your Windows 11 PC goes to sleep. Let’s check out.
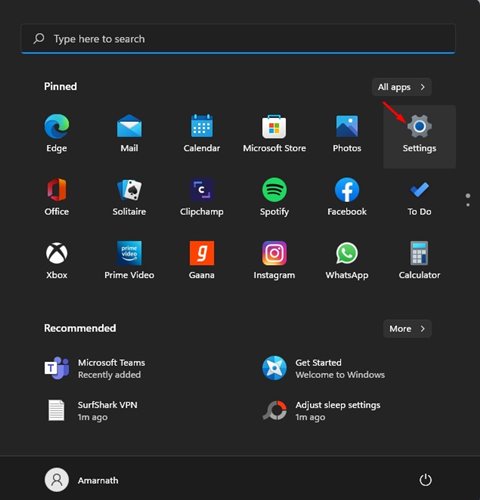
First of all, click on the Windows Start button and select Settings.
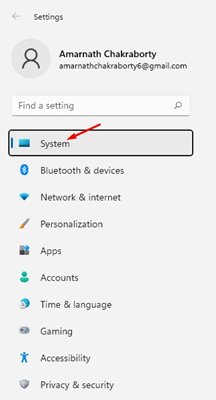
On the Settings app, click on the System option. The option is located on the left pane.
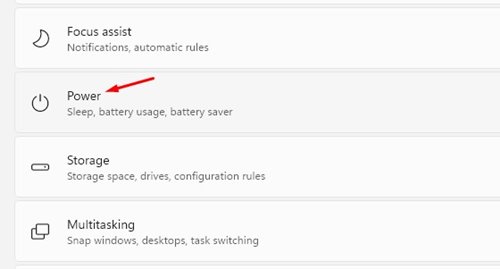
Click on the Power & battery option on the right pane, as shown in the screenshot below.
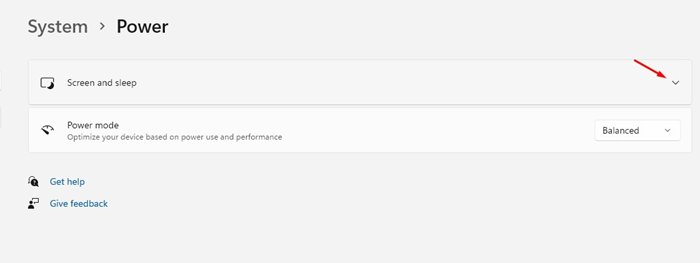
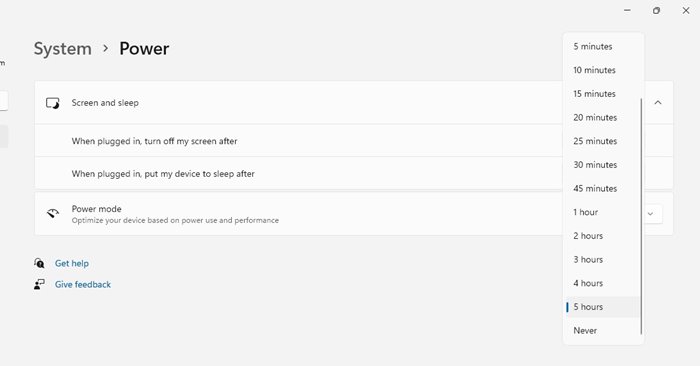
On the next Window, expand the Screen and sleep option.
You will now see many options. You need to set the options as per your need.
For example, if you want to change the sleep delay when your PC is plugged in, use the drop-down menu behind ‘When plugged in, put my device to sleep after’ and choose a time.
If you never want your PC to enter the sleep mode, choose ‘Never‘ in all four options. That’s it! You are done. This is how you can choose when your Windows 11 PC goes to sleep mode. So, this guide is all about how to adjust your PC’s sleep delay on Windows 11. I hope this article helped you! Please share it with your friends also. If you have any doubts related to this, let us know in the comment box below.
